Safety in high speed work zones

Following MUTCD guidelines, workers in high speed work zones must wear proper apparel, hold daily tailgate meetings, and stay alert to protect their team.

According to the Manual on Uniform Traffic Control Devices, or MUTCD, a “work zone” is any part of the roadway where construction, maintenance, or utility work is being done (see MUTCD 6B.02). The MUTCD defines a high speed work zone as any roadway where the speed limit is over 45 mph.

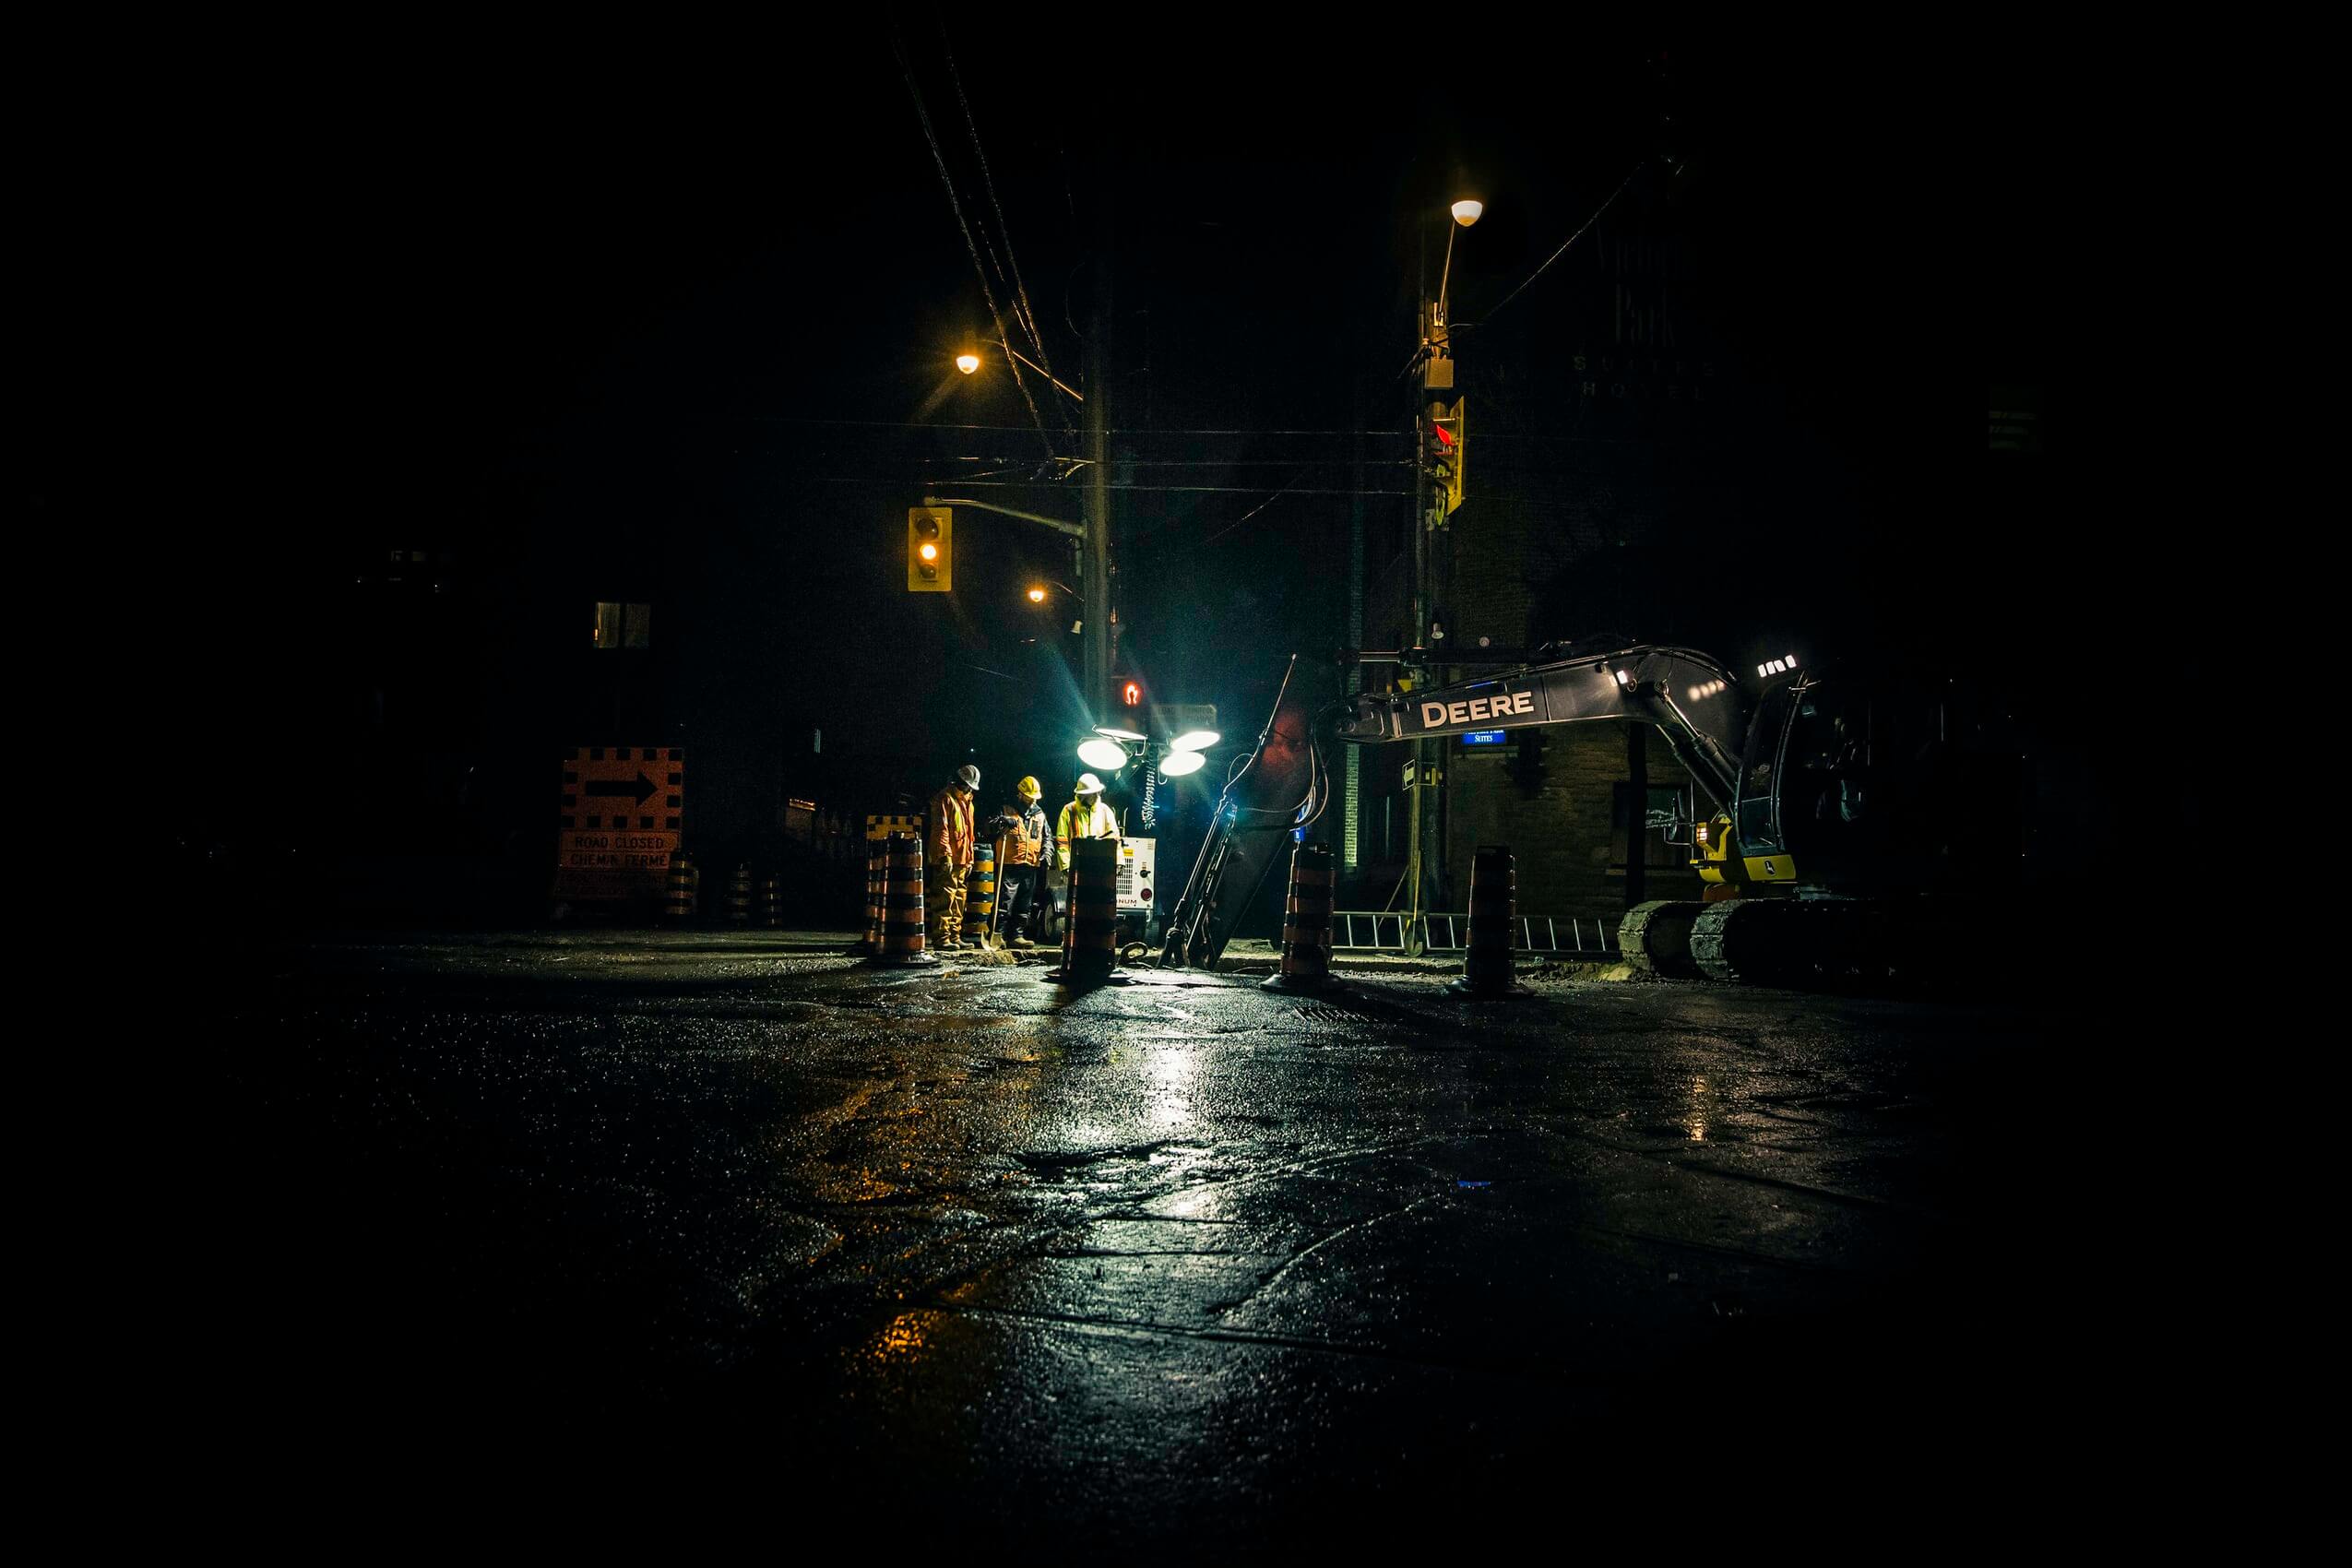
If work will last for more than a short time, a Temporary Traffic Control, or TTC zone, will be set up to protect the work zone. A TTC zone is an area where the traffic flow is temporarily changed using traffic control devices like warning signs and cones or barrels. But even when these measures are in place, all work zones present hazards for workers, and high speed roads increase the risks. If you’re working on a high speed road, you should always take extra care to protect yourself and your team.

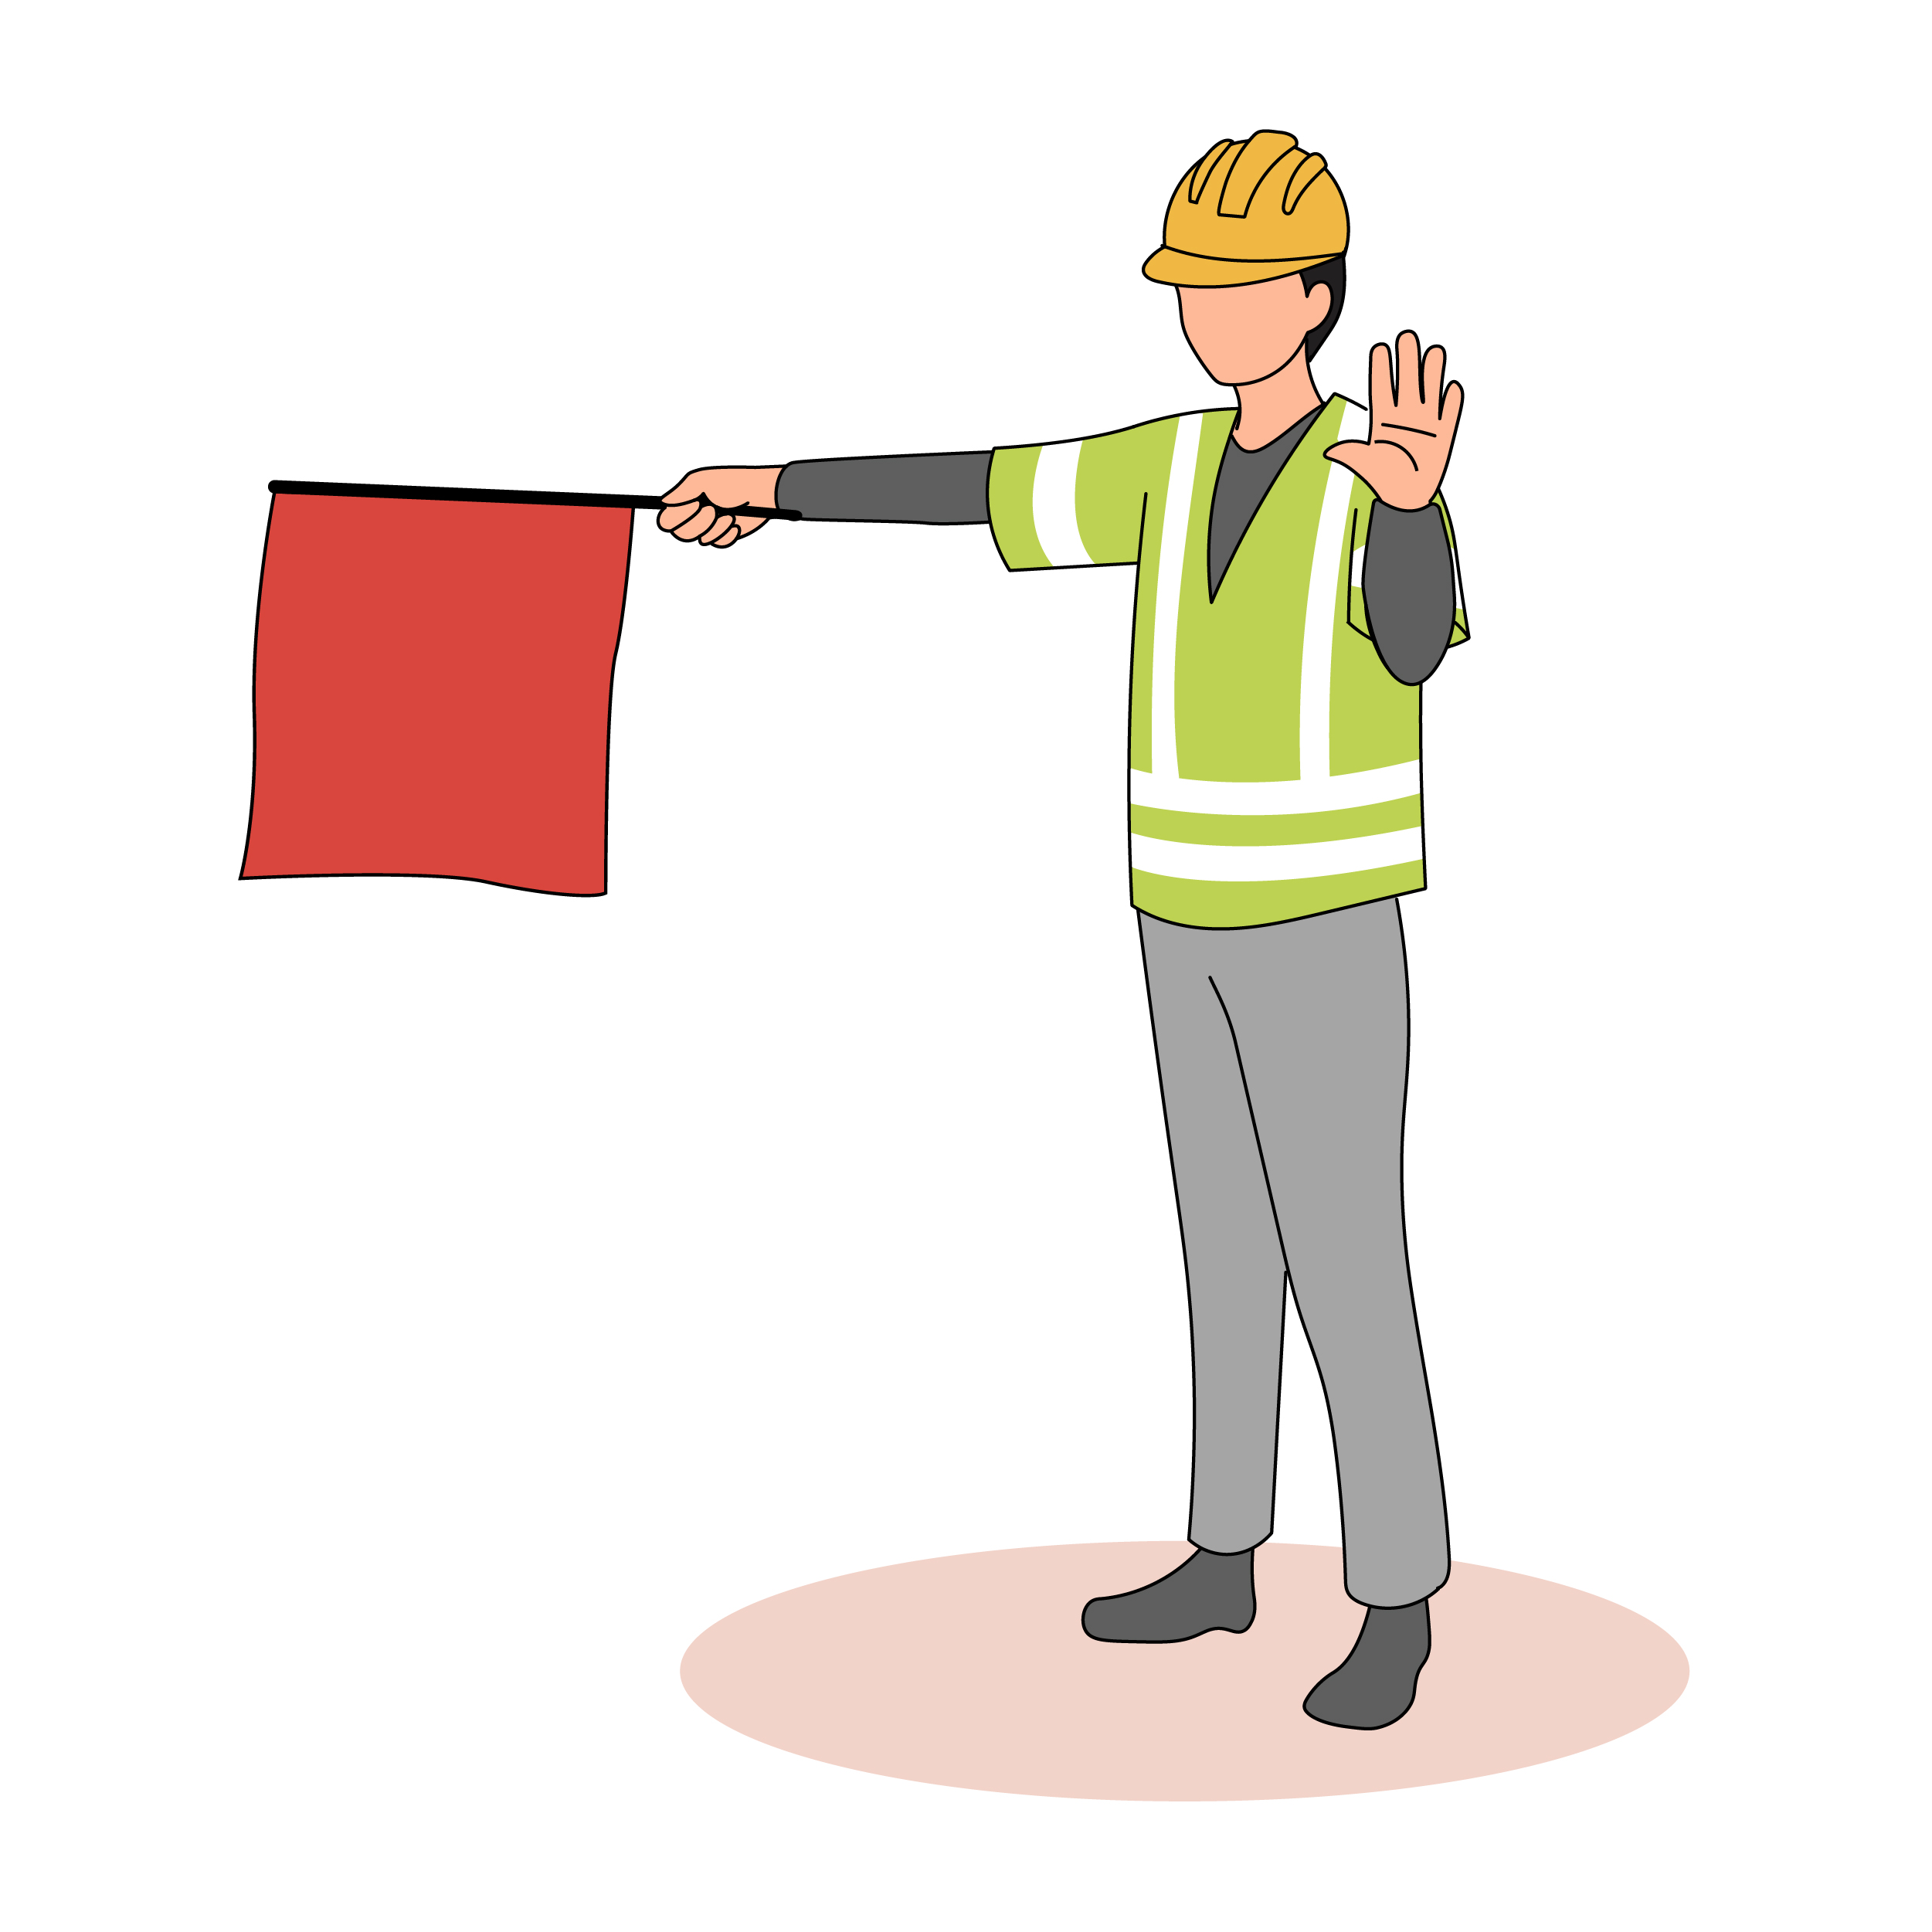
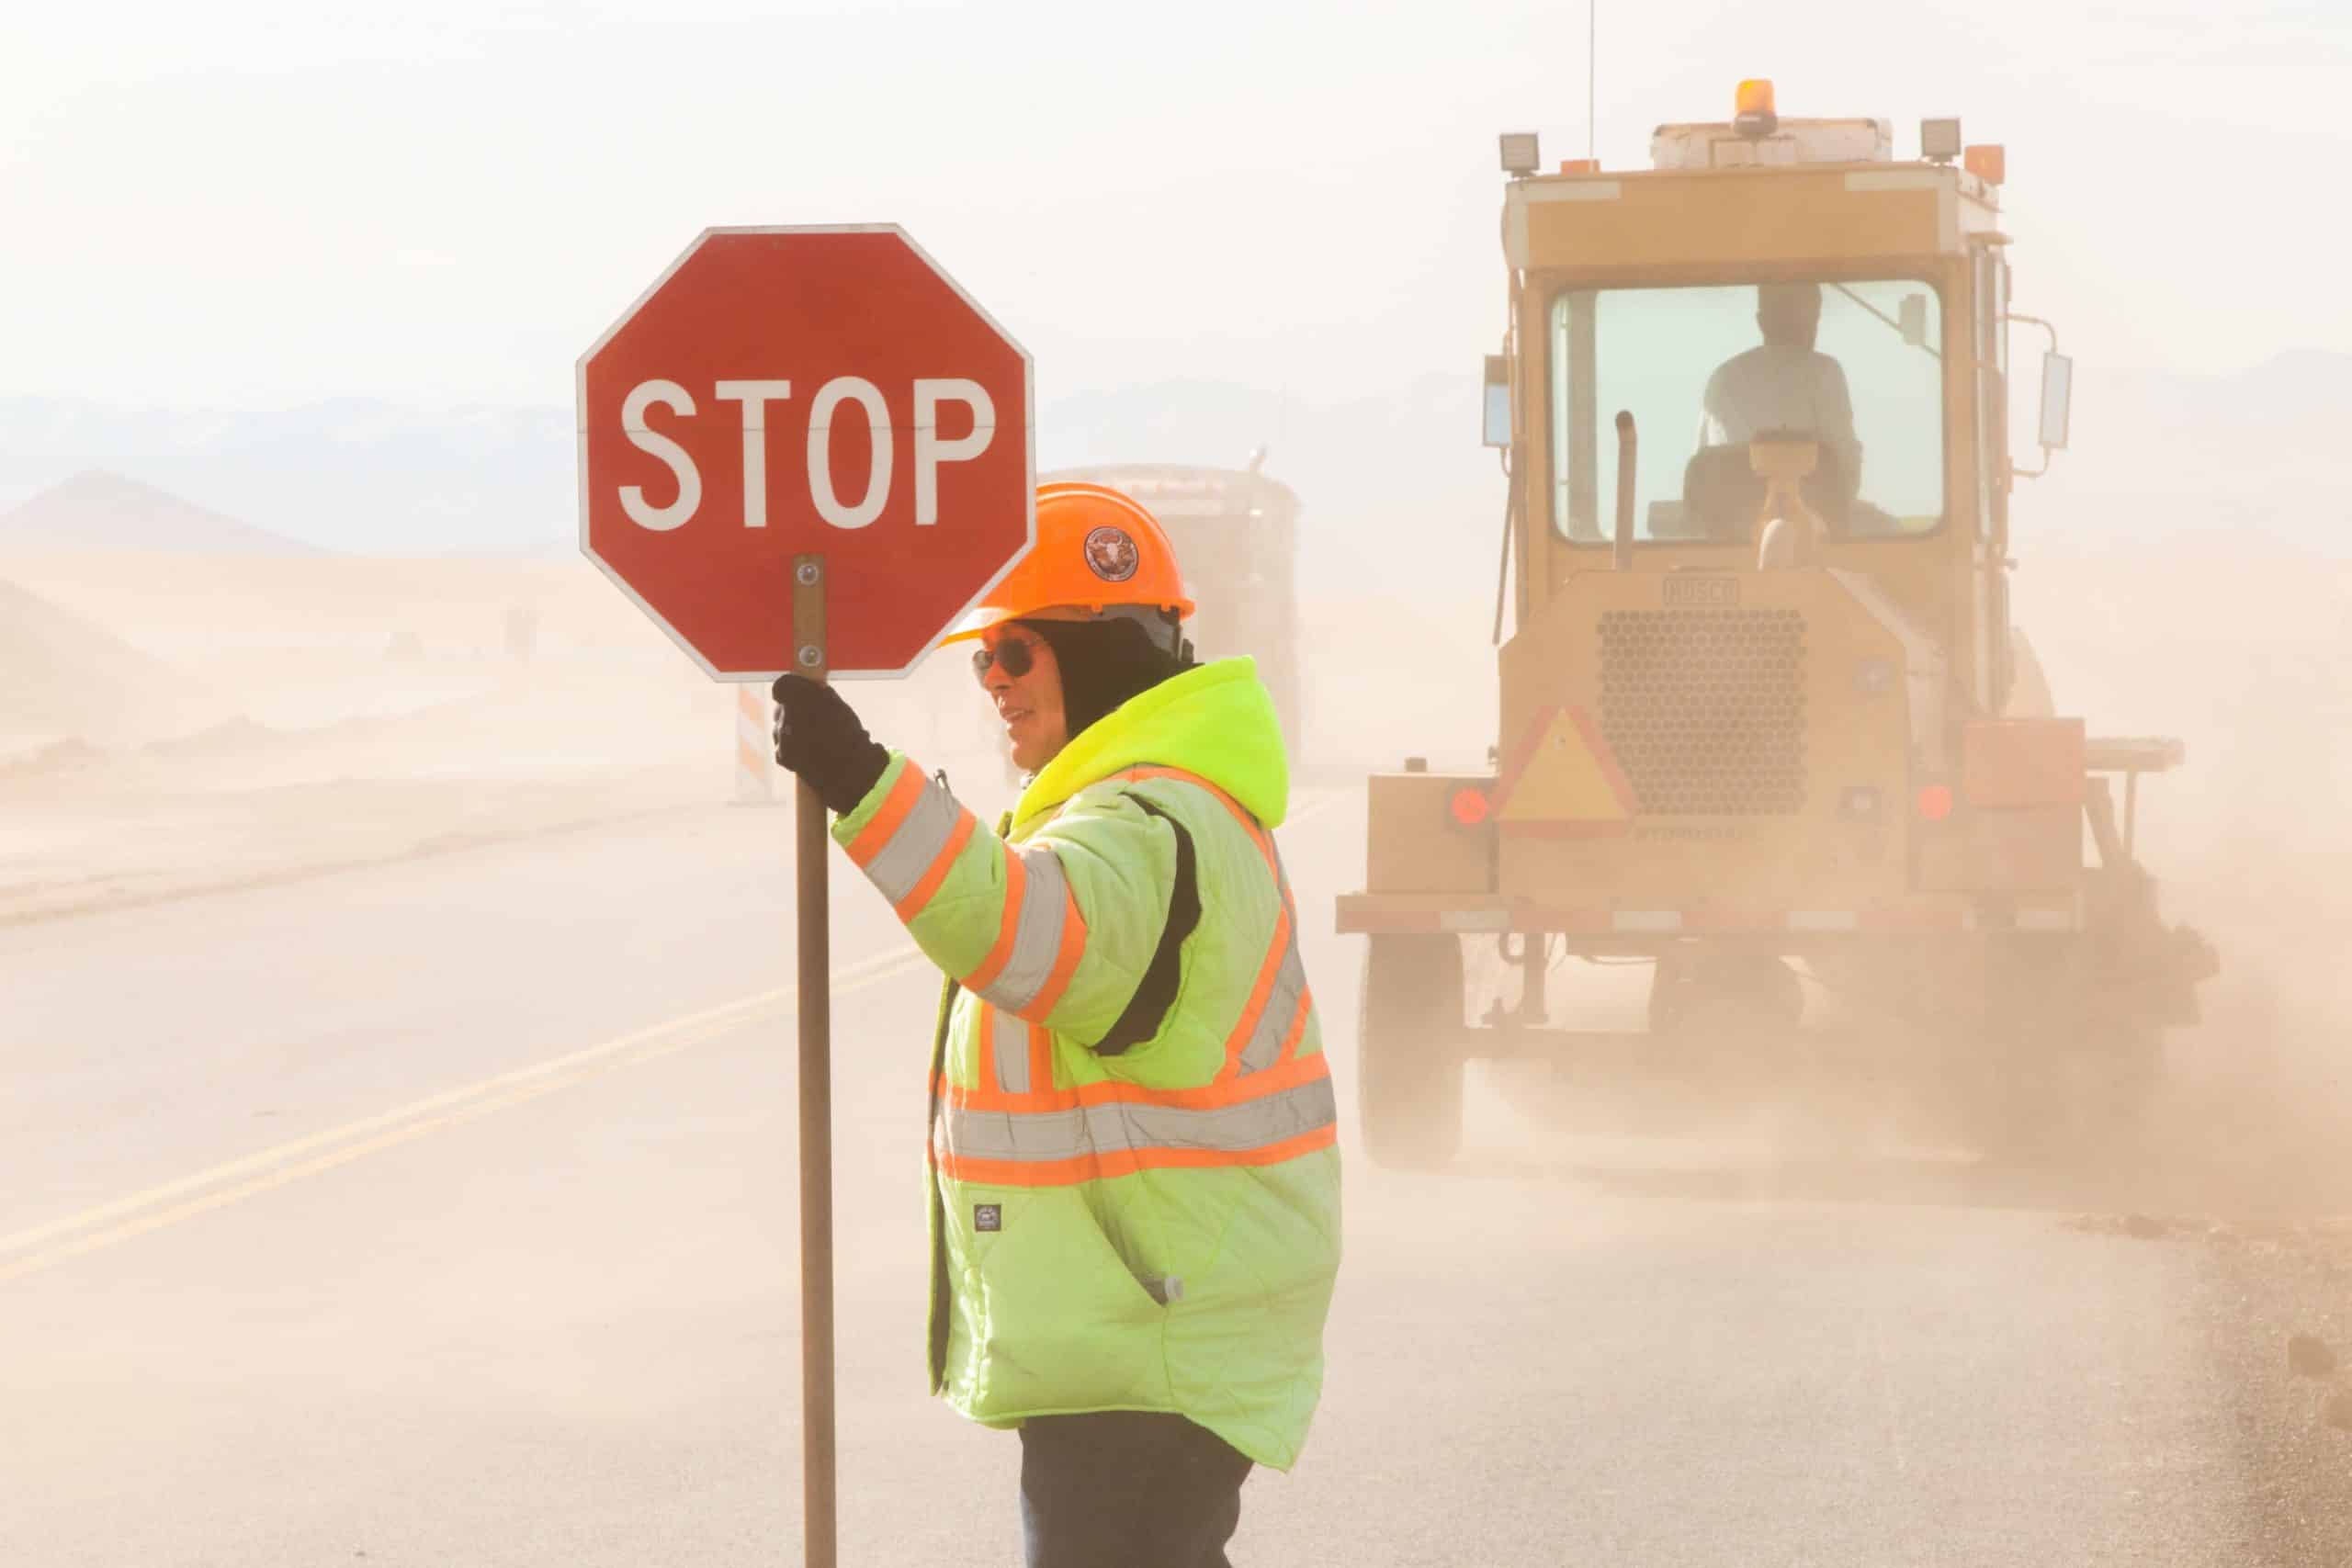
Wear the right high-visibility work apparel

Work apparel helps protect you from flying or falling debris, and makes you more visible to drivers and other workers.

Before you start work, make sure you’re wearing the proper MUTCD-approved apparel and hard hat for the time of day and conditions. There are different apparel requirements for day and night work. Nighttime is usually defined as ½ hour before sunset to ½ hour after sunrise, or any time when visibility may be limited due to weather or other conditions.

In addition, you should have on clothing with long pants and sleeves, hard-soled, closed-toe shoes, sturdy work gloves, as well as eye protection. It is also highly recommended that you wear hearing protection on high-speed roads where the noise levels can be very high.

Have a tailgate meeting

It is recommended that your team hold a tailgate meeting at the beginning of each day to define roles and responsibilities, inspect your equipment, plan for that day’s activities, discuss hazards, review safety measures and communications, and plan for emergencies.

Topics you may want to discuss include:

  • Where will you park your vehicle in the work zone?
  • What equipment will you be using (such as a ladder or aerial lift)? Are there any associated hazards or precautions you need to know about?
  • What hazards are present at the job site, such as uneven terrain, ledges or other fall hazards, debris, or things overhead?
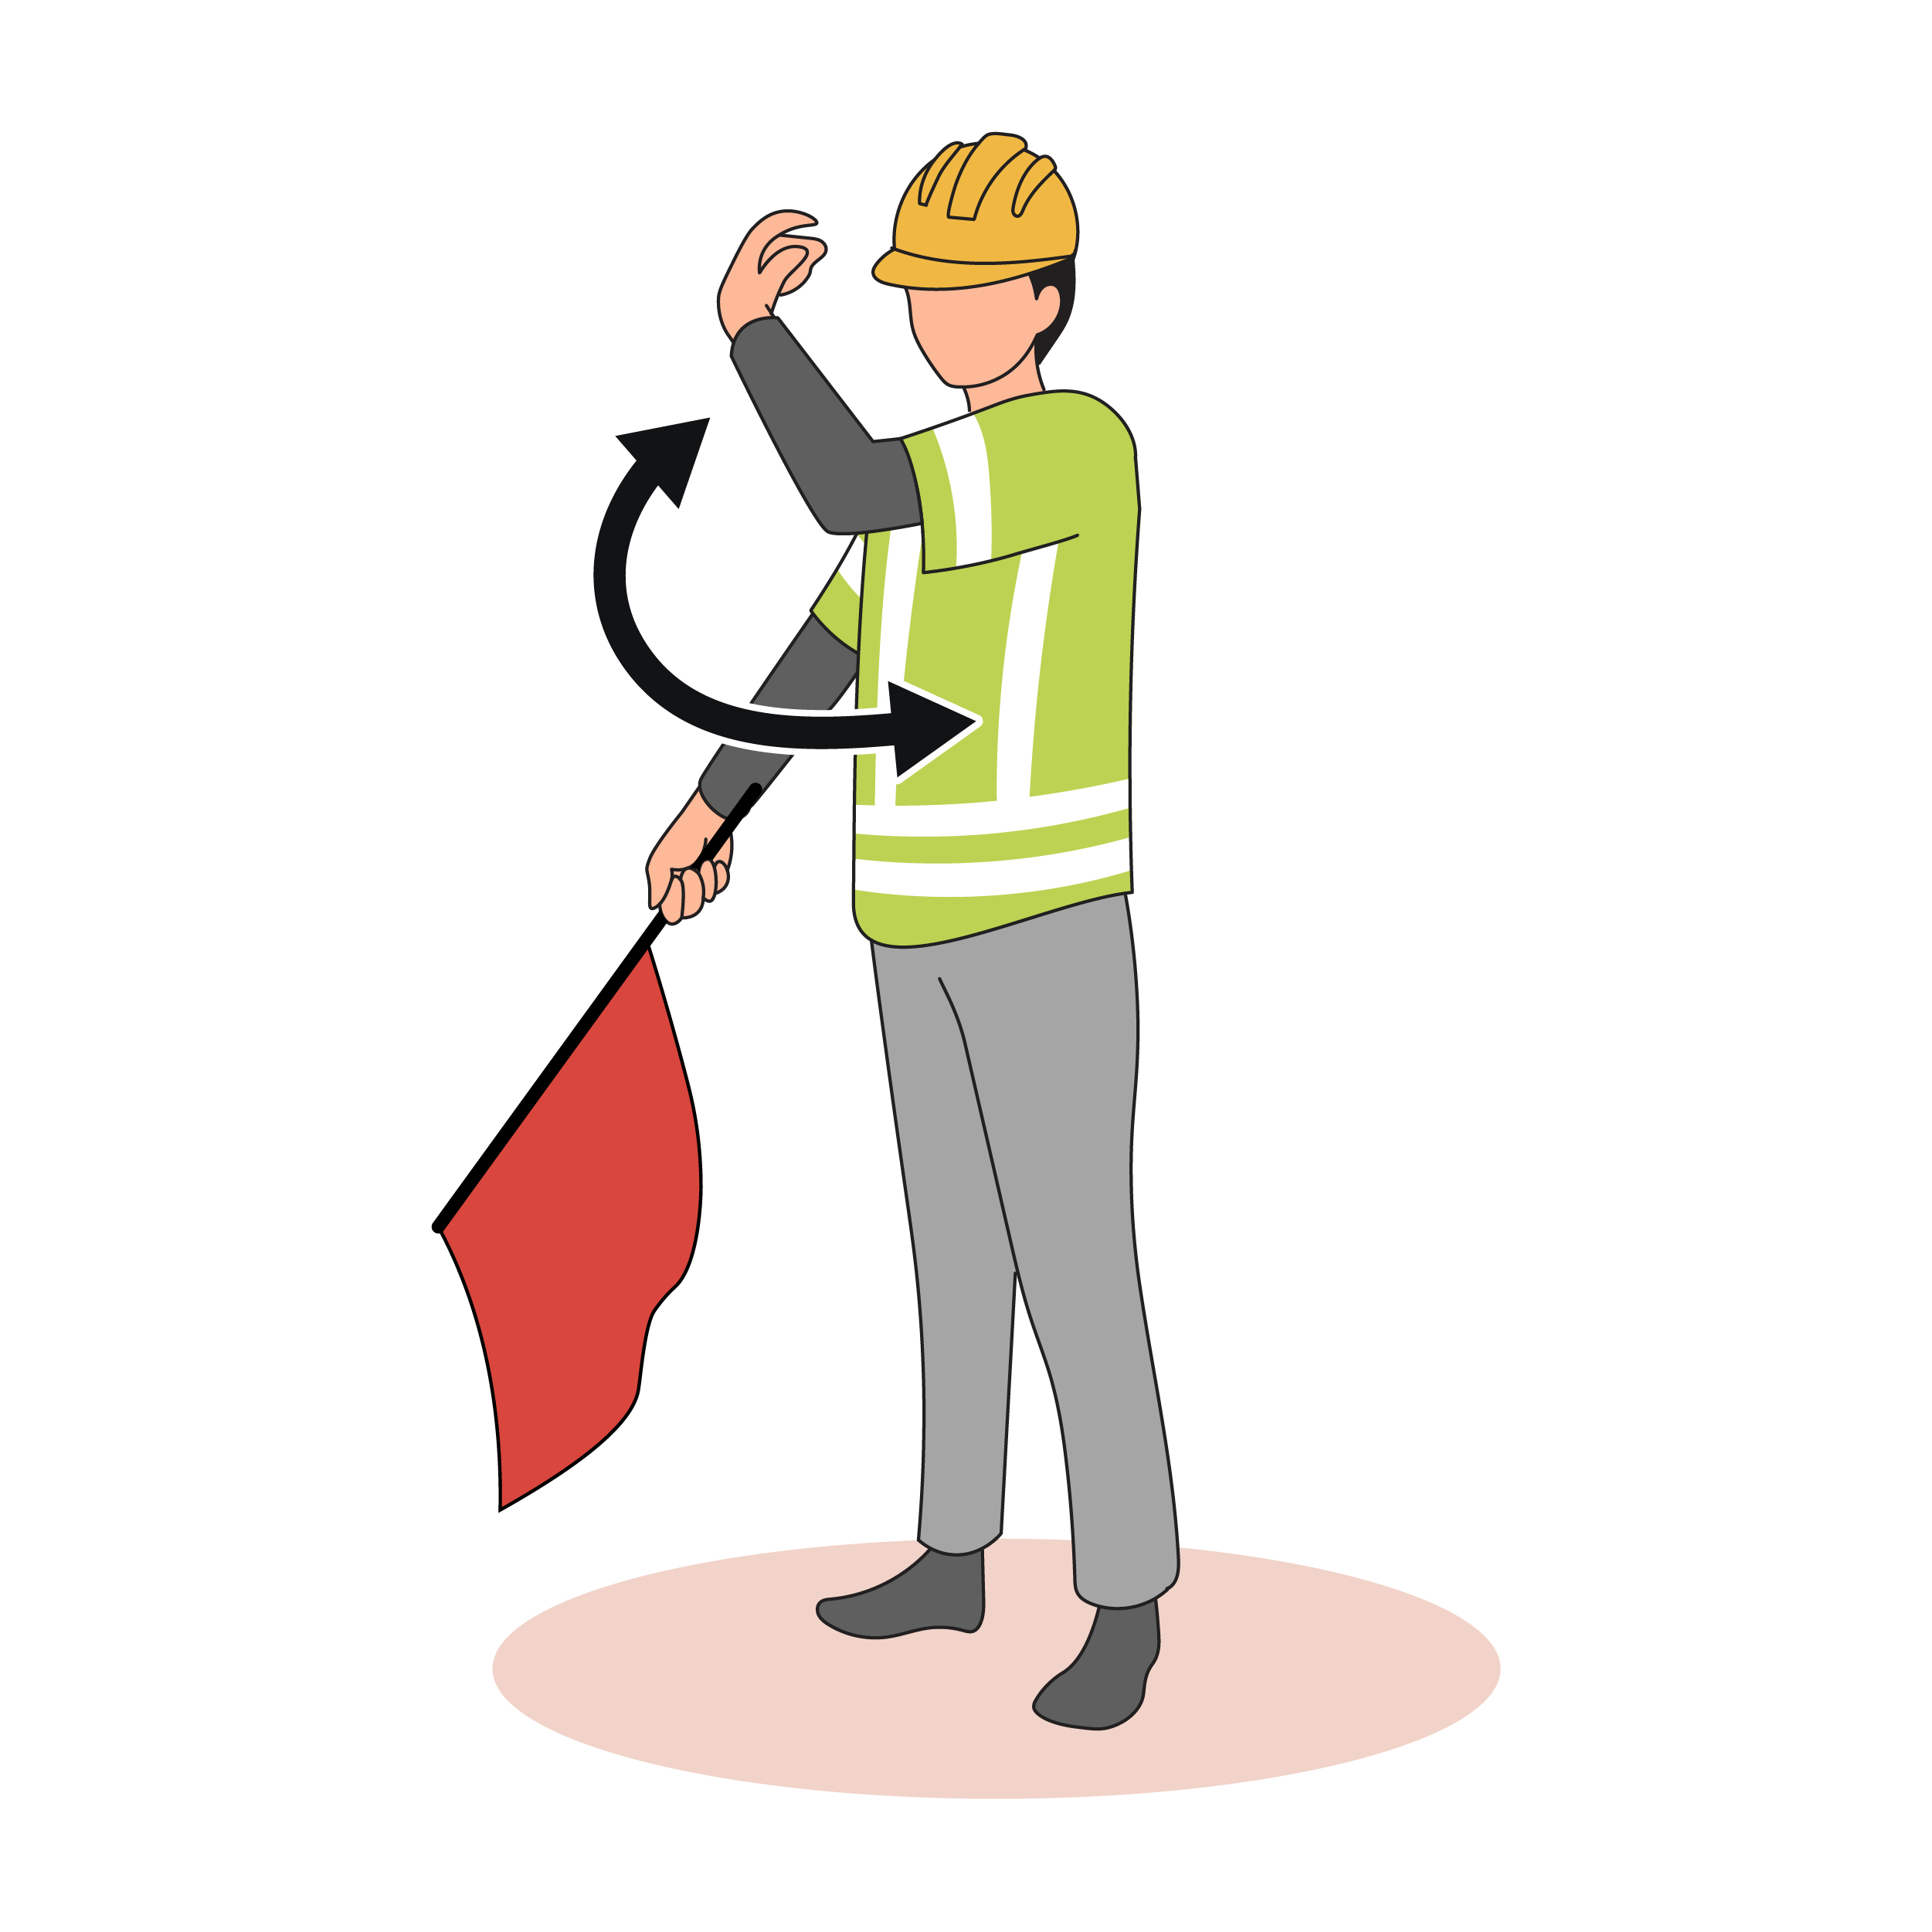
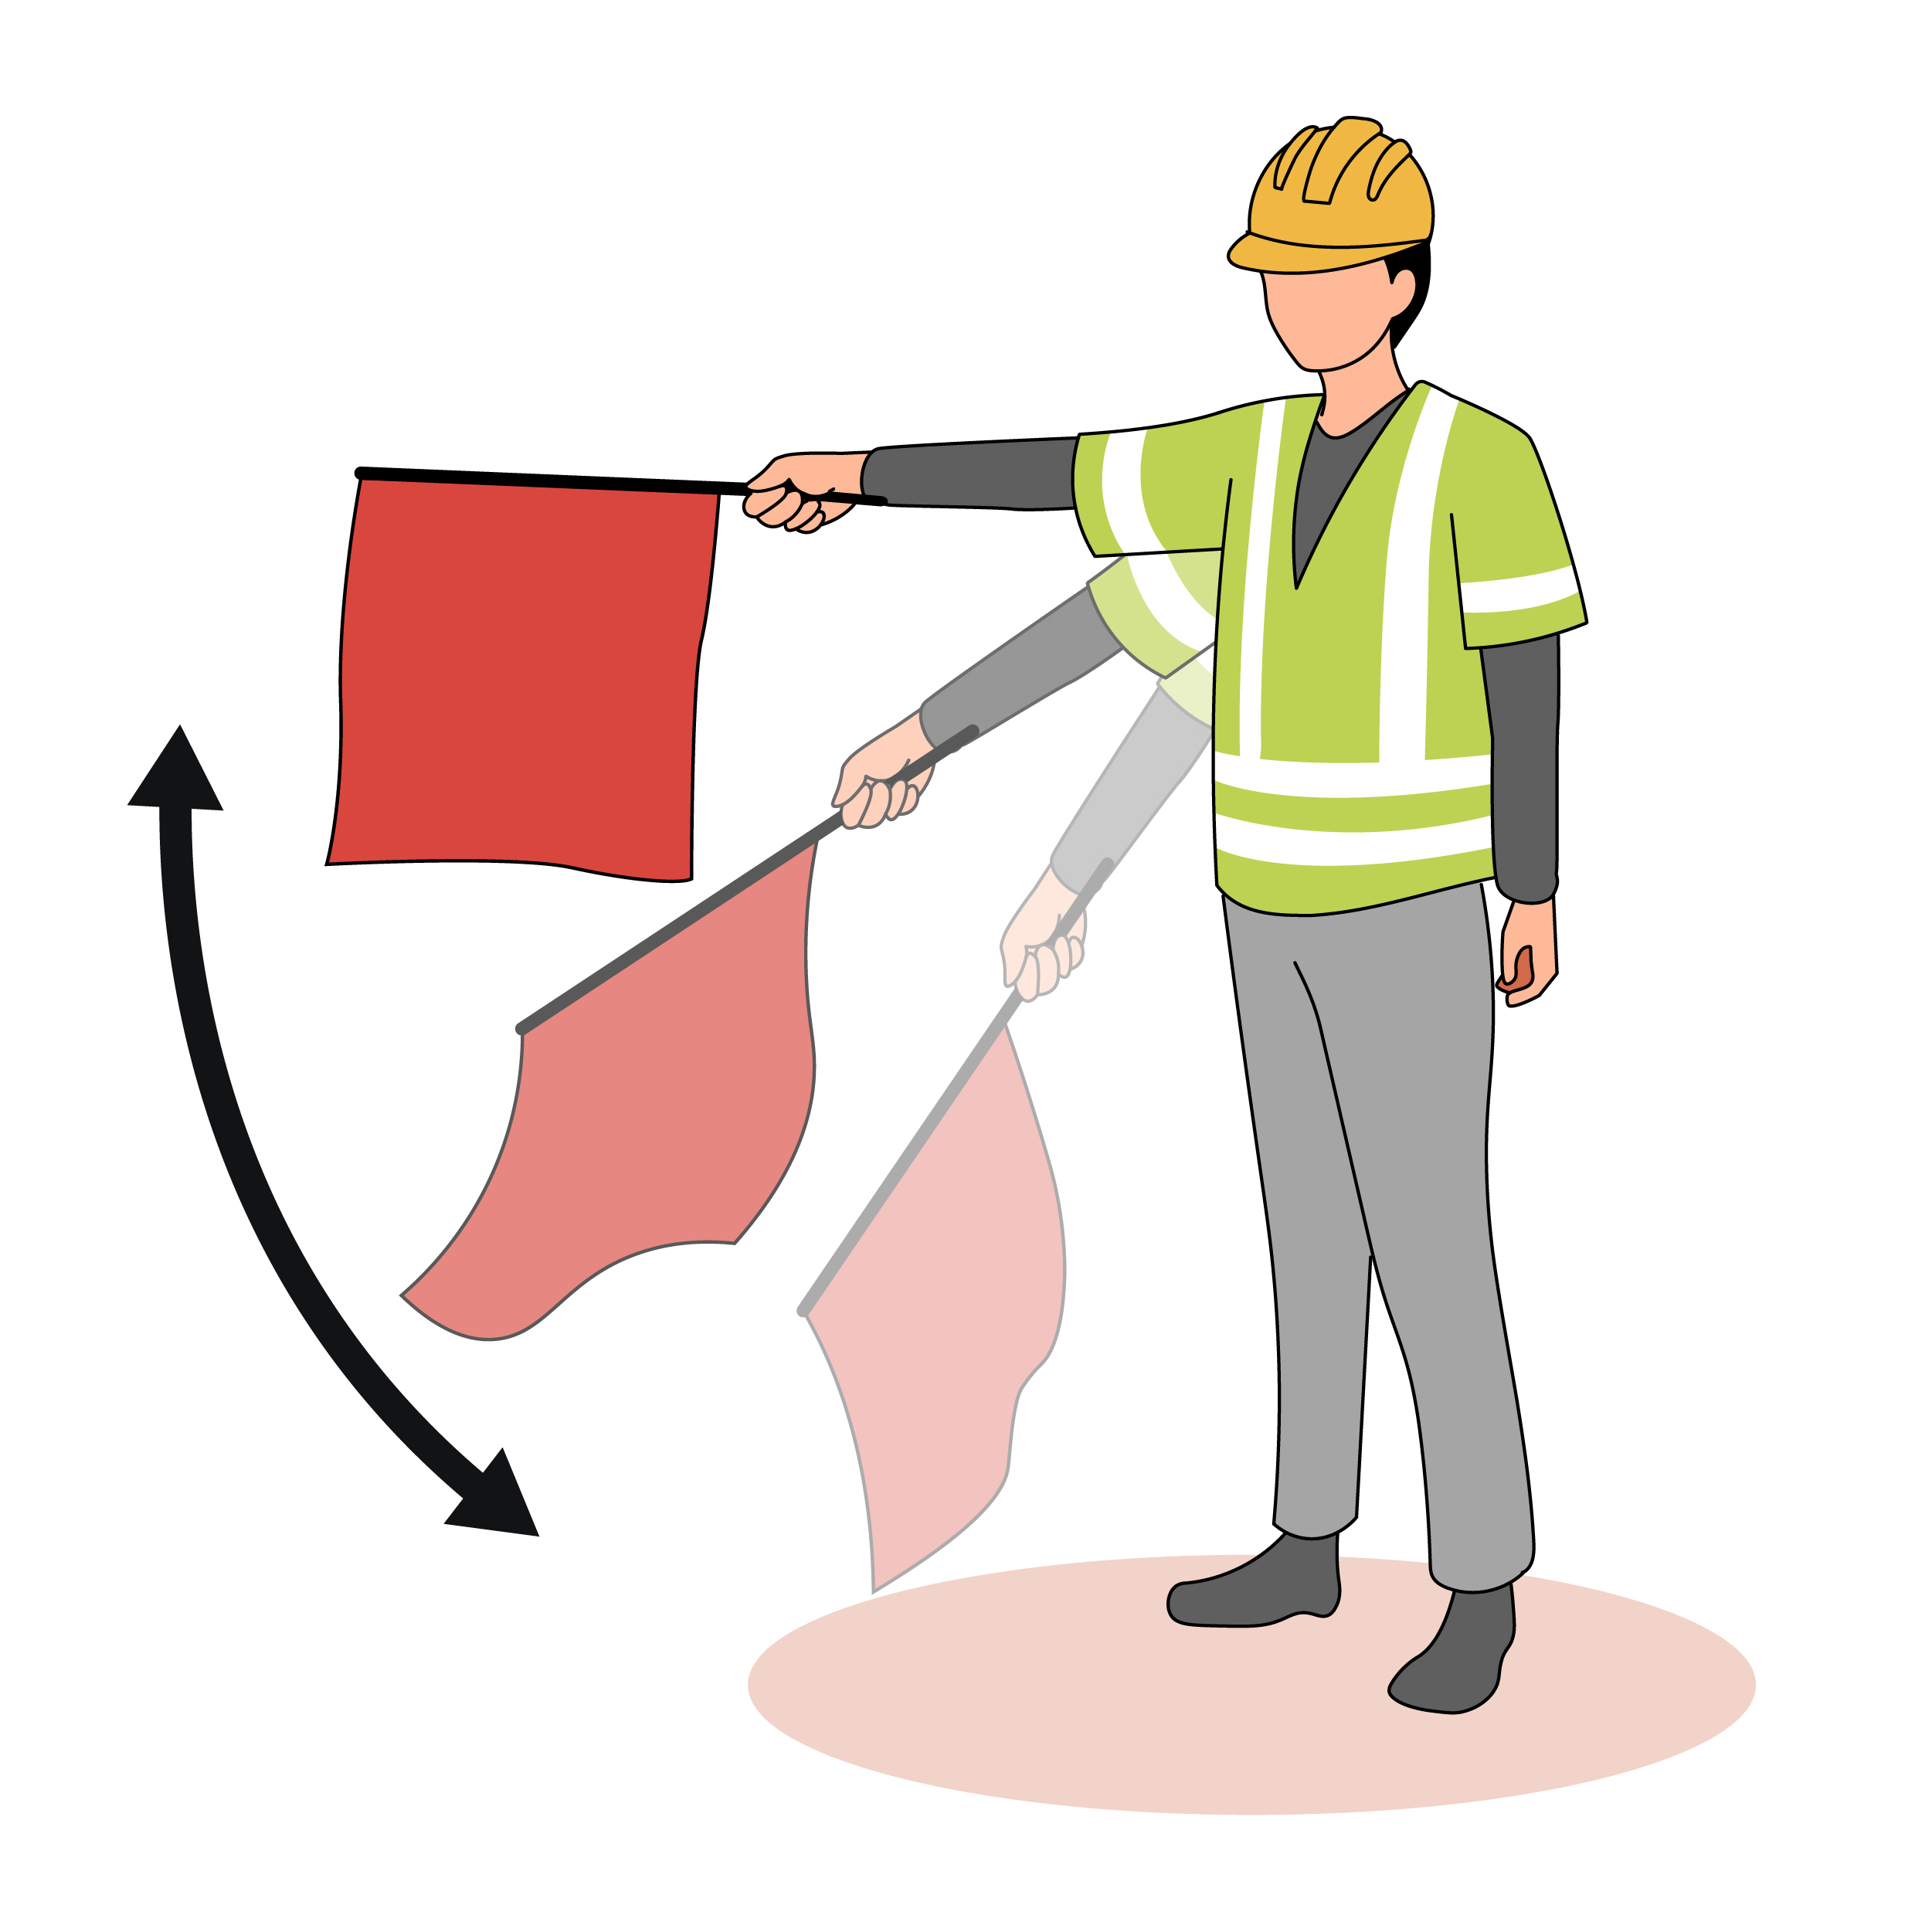
  • What warning signal will your team use if a vehicle or other hazard encroaches on the work site?

Your tailgate meeting does not have to be long, but it should be thorough. Everyone on the team should feel prepared before they enter the work zone.

Keep yourself safe in the work zone

Once you arrive in the work zone, you should head directly to the work area and stay there. TTC zones incorporate a lot of extra space so that errant vehicles have time to stop without hitting workers or equipment. Workers should not go outside of the area defined by cones or barrels, and stay out of the buffer space and taper. If you don’t know where the boundaries are, ask your team lead or supervisor for guidance.

Once you are in the work area, always keep your head on a swivel, stay alert, and be aware of becoming desensitized to hazards. It’s easy to start ignoring traffic after a while, so workers may need to remind themselves of the dangers.

Stay aware of the direction that traffic is moving, and try not to turn your back to it unless you have a spotter. If you are working with a spotter, know who they are and what warning signal they will give if you need to move out of the way.

If you do need to escape an oncoming vehicle, the best route is 90 degrees away from the direction of traffic. This usually means that you would run onto the shoulder of the road. But depending on where you are working, your escape route may be different. Think about what you will need to do to get out of the way of a vehicle, whether that includes jumping or climbing over a barrier, or going into a different direction.

Keep your team informed. Staying safe in any work zone takes alertness, communication, and teamwork. Take your time to do things safely, and work together to protect each other from hazards!

How to navigate your first day on the job as a flagger

Getting your certification is only your first step to working as a flagger. Once you’ve been hired for a job, the next step is to mentally and physically prepare for your first day. Just like any new job, it’s normal to feel nervous, but there is plenty you can do to help yourself feel calm and confident.

Getting your certification is only your first step to working as a flagger. Once you’ve been hired for a job, the next step is to mentally and physically prepare for your first day. Just like any new job, it’s normal to feel nervous, but there is plenty you can do to help yourself feel calm and confident.

"Your first day is just awkward!"

After years in the construction industry, Dawn McKole pivoted to flagging about three years ago. And while she has grown to love it, she emphasizes that there was a learning curve, even for someone with experience in the trades. “All of it was new,” she says. “All the lingo, what’s normal, what’s not normal…Someone hands you a radio and you’re standing on a street going, ‘What button do I press?’” 

“The first day is just awkward!” says Vicki Hebert, owner of Smuggler’s Cove Flagging. “But it’s okay. Flagging is a hands-on job that takes time to learn. Be patient with yourself.” Both Hebert and McKole tell flaggers that the best way to get started is by asking the right questions, so you know how to be as prepared as possible for your first day in the work zone.

Questions to ask before the job  

As a new flagger, you might feel shy about asking questions, but it’s important to speak up. Ask your hiring manager or supervisor in advance for details about the job. Here are some things you’ll want to know:

  • Where is the job site or meeting point?
  • What time do you need to be there, and when is the crew expected to show up? (It’s normal for flaggers to be the first ones on site, because they set up the work zone.)
  • Will flaggers be setting up signs?
  • Does the company provide PPE (such as a hard hat and vest), a STOP/SLOW paddle, or radios? (It’s common for flaggers to bring these items themselves.)
  • Who will be supervising or leading the flaggers on site? Will there be someone to mentor you?
  • What should you expect as far as breaks?

Once you know where you’ll be heading, look up the location of the job site and plan ahead for your commute. Figure out what time you need to leave in order to be on site at least 15-20 minutes early. Leave plenty of extra time in case there is traffic, and additional time to find parking. 

As a new flagger, it’s also a good idea to review the basic concepts from your certification class. “Know what a flagger taper is. Know what the hand signals are. You’ll get more comfortable with them,” says Hebert.

Prepping your gear

Flaggers have to be self-sufficient for long periods of time. “It can be hard to get a break!” says Hebert. It’s common for the crew to take a lunch break, but it isn’t always possible to change the work zone in a way that relieves the flagger – so you may have to go without one. Hebert recommends “pocket food” like granola bars and bite-sized protein (like nuts or cured meats), and getting a vest with pockets that seal so that your snacks don’t fall in the road.

You’ll also need to be prepared for varying weather conditions and long hours outside. Layering your clothing is recommended. “It’s harder to add clothes than subtract them while you’re out there,” says McKole.

Here is a short checklist of items you may need:

  • Boots 
  • MUTCD-compliant hard hat and vest (see our Flagger apparel guide)
  • MUTCD-compliant STOP/SLOW paddle
  • Layered clothing
  • Snacks
  • Water, coffee, or other drinks (but plan for limited bathroom breaks)
  • Radios (make sure they’re charged)
  • Sunscreen
  • Your flagger card and ID 

McKole also reminds flaggers to make sure their phone is fully charged, even if they can’t use it on the job. It might become necessary in an emergency.

When you arrive

Park safely, get your gear on, gather your supplies, and walk over to the site. When you arrive in the work zone, find the foreman, Traffic Control Supervisor, or other designated lead, and check in with them about the day's work. Find out where you will meet your flagger partner, where you will be standing, and which traffic you’ll be stopping. McKole reminds flaggers that there is supposed to be an approved plan for every job. So if you’re in a place with a lot of traffic or a complex work zone, you can ask to see the Traffic Control Plan. Hebert also tells flaggers to ask the crew, “How can we be of service to you today?” Communicating with them can help you work together smoothly, and will make their jobs easier.

Professional and polite communication is important, but McKole also encourages flaggers to be assertive and willing to speak up with supervisors and other crew members. “You have to find your inner confidence and talk to them plainly, and make sure you get a straight answer. That takes some guts sometimes,” she says.

One of the most important things to find out is where the bathroom is, and how you will get a break. Ask if there is someone to relieve you, how often, and where you should go. Bathroom breaks will likely be limited, so you’ll want to pace your liquid intake accordingly.

“But no one is here!”

Hebert says that one of the top causes of anxiety for new flaggers is getting to a job site or meeting point, and not finding the crew there. “The question of, ‘Are we late? Are they late?’ causes so much anxiety and can get you flustered,” she says. However, it’s normal for crews to run late, so you shouldn’t panic. Flaggers get paid by the hour, so you’ll be paid whether the crew is on time or not. Just make sure that you are there and ready to go, and wait until they arrive.

Doing the job and building your confidence

On your first day, signaling to traffic and using your radio will feel like a challenge. If you have a good supervisor, they’ll expect you to be nervous and make mistakes. The most important thing to remember is how to keep yourself safe: “Keep your toes to the line and keep your heels to the curb (or ditch),” says Hebert. “Never turn your back on traffic, and have an escape route.”

Hebert tells flaggers that getting through the first day is a milestone. “On your second day, you can breathe! You know who you’re working with, where you’re supposed to be, and then you can start having more confidence in where you’re standing, how to use the hand signals, and being more assertive with traffic.”

Once she acclimated to the job, McKole grew to love it. She gets to wear jeans and boots, be outside and not behind a desk, and she values the variety and challenge. “There’s some comfort in knowing where you’re going once a job has lasted a week or two,” she says, “but there’s excitement in starting over at a new place too.”

When she’s nervous, McKole has a mental trick she uses to calm her anxiety: “I take a deep breath and say ‘It’s gonna be fun!’”

Operating with other flaggers in the work zone

When working with one or more flaggers, coordination and communication are essential for maintaining smooth and safe traffic flow. Here's a guide to effectively working as a team while controlling traffic.

Traffic control is a critical part of ensuring safety at construction sites, in road work zones, at public events, and even during roadside emergencies. When working with one or more flaggers, coordination and communication are essential for maintaining smooth and safe traffic flow. Here's a guide to effectively working as a team while controlling traffic.

Set up the work zone correctly 

A properly prepared work zone reduces confusion for both drivers and flaggers. Place warning signs, cones, and barricades far enough ahead of the work zone to alert drivers. Each flagger should position themselves where they are visible to oncoming traffic but safe from vehicles' paths of travel.

Understand your roles and responsibilities 

Before traffic control begins, make sure you clearly assign roles to all flaggers. Each flagger should know their station, responsibilities, and the flow of traffic they are managing. In multi-flagger setups, one flagger typically manages each direction of traffic, while additional flaggers may be assigned to intersections or areas with limited visibility. Avoid overlapping roles, as this can lead to confusion.

Establish clear communication

Effective communication is crucial for coordinating traffic flow. Use at least one of the following methods to stay in sync with your team:

  • Handheld radios: Radios are a reliable way to relay instructions or warnings quickly.
  • Hand signals: Familiarize yourself with standard hand signals such as "Mother may I?" to communicate when verbal tools aren't effective.
  • Eye contact: When close to each other, establish eye contact to confirm readiness before signaling traffic.

Stay in sync

You must stay in sync with your fellow flaggers to ensure smooth traffic flow and reduce the risk of collisions. When transitioning traffic flow from one direction to another:

  • Wait for confirmation from the other flagger before allowing your traffic to proceed.
  • Use a mix of hand signals and verbal confirmation (via radio) to ensure you’re both ready.

This synchronization is especially important in long or complex work zones where drivers can’t see both flaggers at once.

Adapt to changing conditions together

Traffic control is dynamic and conditions can change quickly. If a situation arises, such as a backup of vehicles or a sudden hazard, communicate immediately with your fellow flaggers. Adjust positions, traffic flow, or signaling as necessary to address the issue while maintaining safety. Always check with your supervisor and other flaggers before making any significant changes to the traffic pattern.

Prioritize safety as a team

When working with multiple flaggers, the entire team must prioritize safety at all times by:

  • Maintaining a safe distance from the active roadway
  • Ensuring that all flaggers wear the proper high-visibility gear and follow proper procedures
  • Regularly check on one another to ensure everyone is alert and ready to continue

If a team member seems fatigued or distracted, work together to redistribute duties temporarily to keep safety as the top priority.

Regardless of what type of flagging you are doing, always follow the MUTCD standards (plus any additional local rules) for apparel, equipment, placement, and hand signals.

Conclusion

Working with other flaggers requires clear communication, well-defined roles, and synchronized movement. By staying coordinated and prioritizing safety, you can ensure smooth traffic control even in the most challenging conditions.

"Not your 9 to 5" — 7 things to know about becoming a flagger

Learn what it takes to succeed as a work zone flagger, from getting up early to having the right equipment.

1. You’ll need to get up early and stay late.

Work zone jobs often start early in the morning, and flaggers need to be the first people to arrive since they set things up for the rest of the crew. So you’ll need to be okay with an early wakeup – plus a commute. You may also have to work late, because there is rarely a set “end time” for this type of work.

2. You have to be ready for all weather.

From heat to cold, you're exposed to it outside, and the weather may change while you're on the job. You’ll need to come prepared to handle rain and wind as well as sun and heat – potentially all on the same day.

3. Phone use is absolutely prohibited while you’re flagging.

Flagging involves long hours and requires concentration and alertness. You need to “have your head on a swivel,” always scanning the area for what’s going on so that you can respond quickly and appropriately. This means that you absolutely may not use your phone: it’s unsafe for you to look down or away from the road (and Washington's Flagger rules also prohibit it!). You also need to be able to hear what’s going on, so listening to earbuds is out. 

4. The workload can vary greatly.

Flagging is usually a part-time, on-call job, and it’s seasonal. In Washington State, high season is typically from April to September. But no matter the time of year, you’ll need to be flexible with your schedule.

5. Your reputation matters.

Communicating well with your supervisor and being willing, able, and dependable on the job are the best ways to move up in the industry. You’ll need to plan ahead and be organized about your schedule, answer your messages promptly, and let your boss know right away if you can’t work. The work zone can’t function without you, so it’s important to get to work on time. This means you will likely need your own car to get to and from remote job sites. Crews often request specific people, so if you’re reliable and motivated to do a good job, you’ll get called more often.

6. Make safety your priority.

Flagging is a dangerous job – that’s part of why it requires a certification. Drivers can be distracted, erratic, aggressive, or under the influence. Taking your job seriously means valuing the life of yourself and your crew, and being the kind of person who really cares about safety. You’ll need to stay alert, be assertive, and be able to move quickly to respond to hazards that arise.

7. Flagging is a fantastic job if you like variety and challenge.

When you’re working with another flagger who really knows what they’re doing, there’s an amazing flow that happens that’s kind of magical. If you like to stay busy and be challenged on the job, and you like variety and flexibility, this is a great career for you. It allows you to see new places, be in new communities, and meet new people, while working outdoors and doing work that is physical. Flagging lets you be your own boss but also a team member, so in many ways it can be the best of both worlds. It’s also a great self-esteem and confidence-builder. When you pay attention and do a good job, you’ll also earn the respect of your teammates and supervisors. 

This article was contributed by Vicki Hebert, owner of Smuggler’s Cove Flagging on San Juan Island, and a state-certified flagger instructor with experience spanning four decades. She is passionate about educating, empowering, and mentoring flaggers and others in the trades.

Flagger signaling with a red flag

Flagging is a challenging and hazardous job that requires strong mental and physical abilities, and takes place in tough work environments. Wearing the right combination of hi-visibility apparel and workwear is one of the keys to keeping yourself safe in the work zone.

MUTCD 11th edition compliant signals

Although it is recommended that flaggers use STOP/SLOW paddles to signal to traffic in work zones, some states require the use of red flags in particular situations.

Start with the right type of flag

The MUTCD states that flags shall:

  • red or fluorescent orange/red in color
  • a minimum of 24 inches square
  • fastened to a 36-inch staff
  • weighted so that the flag will hang vertically even in heavy winds
  • retroreflectorized if used at night

(MUTCD 6D.03)

Use the proper the signals

To STOP road users with a red flag:

Face road users and extend the flag staff horizontally, so that the full area of the flag is visible hanging below the staff. The free arm should be held with the palm of the hand above the shoulder-level, toward approaching traffic.

To tell road user to PROCEED with a red flag:

To direct stopped road users to proceed, lower the flag and motion with your free hand for road users to proceed. Do not wave or motion with the flag.

To tell road users to SLOW DOWN using the flag:

Face road users and slowly wave the flag in a sweeping motion from shoulder-level to straight down, without raising your arm above a horizontal position. Keep your free hand down.

These signals are covered in Figure 6D-1 in the MUTCD 11th edition.

Learn more about flagger signals and how to safely set up a work zone in our Online MUTCD Flagger training!

Are you sending the right signals?

One of the most important skills you’ll use when working as a flagger is signaling with the STOP/SLOW paddle. Here are a few tips to get you up to speed, while slowing traffic down.

MUTCD-compliant flagger signals for use with a STOP/SLOW paddle

One of the most important skills you’ll use when working as a flagger is signaling with the STOP/SLOW paddle. Here are a few tips to get you up to speed, while slowing traffic down.

Put your sign’s best face forward

Before you begin flagging, make sure your STOP/SLOW paddle meets the requirements set by the MUTCD. The STOP/SLOW sign must be at least 18 inches in diameter, and it should be mounted on a staff that makes it tall enough to be seen by approaching traffic. We recommend a staff height of 6 to 7 feet. 

Always make sure your paddle is clean and legible. If you will be signaling during hours of darkness, it is recommended that you use a 24-inch paddle to increase visibility.

Note that some states and local jurisdictions may have additional requirements for STOP/SLOW paddles, especially if they are used during hours of darkness. For instance, in Washington State, the sign face must be retroreflective.

Setting up for success

Flaggers should never stand in the lane of traffic. Position yourself on the shoulder or in a closed lane. Make sure you have a clear route of escape, in case a vehicle threatens your safety.

Stand so that the STOP/SLOW paddle is between you and the lane of traffic you’re signaling to. Hold the paddle with your arm extended horizontally away from your body. Your feet should be positioned perpendicular to the paddle, so that you can easily look behind you.

Send a clear signal – STOP, PROCEED, or SLOW

Road users are easily confused in work zones, so it is vitally important that your motions are clear to drivers. When signaling, don’t hesitate — be firm, courteous, and confident.

There are three basic signals that you will use to communicate with road users: STOP, PROCEED, and SLOW. These specific signals are required by the MUTCD.

To signal for vehicles to STOP:

  • Aim the STOP paddle face toward road users.
  • Hold your free arm with the palm of the hand above shoulder-level, toward approaching traffic.

To signal for vehicles to PROCEED:

  • Aim the SLOW paddle face toward road users.
  • Motion for road users to proceed by moving your free hand horizontally from left to right.
  • For added emphasis, as you motion, you may point in the direction they should move.

To ALERT or SLOW traffic:

  • Aim the SLOW paddle face toward road users.
  • Motion up and down with your free hand, palm down. 

Nighttime signaling

During hours of darkness or in low-visibility conditions, it is recommended that you signal using a flashlight with a red glow cone, in addition to the STOP/SLOW paddle. 

Note that unless you are flagging during an emergency, the MUTCD requires that the flagger station be illuminated by floodlights.

Here are the gestures you should use when signaling with a flashlight.

To signal for vehicles to STOP:

  • Hold the flashlight with your left arm extended down toward the ground
  • Then, slowly move the flashlight from left to right, stopping at a 45 degree angle. 
  • For added emphasis, you can use the flashlight to point to an imaginary line where the vehicle should stop.

To signal for vehicles to PROCEED:

  • Point the flashlight at the first vehicle’s bumper.
  • Slowly aim the flashlight toward the open lane, and then hold the flashlight in that position. Do not wave the flashlight.

To ALERT or SLOW traffic:

  • Point the flashlight toward the oncoming traffic. 
  • Quickly wave it in a figure eight motion.

Signaling with a red flag is not always recommended, but some states require it. Learn all about signaling with a red flag in our article.

Reducing confusion for road users is one of your top priorities as a flagger. If you are new to flagging, it’s a good idea to practice these signals on your own until they become second nature. 

Dress for success in the work zone

Flagging is a challenging and hazardous job that requires strong mental and physical abilities, and takes place in tough work environments. Wearing the right combination of hi-visibility apparel and workwear is one of the keys to keeping yourself safe in the work zone.

The phrase might be a cliché, but it’s good advice for workers in any field. What you wear as a flagger is just as important as the role you perform. For flaggers, proper high-visibility (or “hi-vis”) clothing makes you more visible to motorists and others working on your job site, and provides additional protection against the elements and injury-causing incidents.

Federal flagger clothing requirements are set by the Manual on Uniform Traffic Control Devices (MUTCD). States, companies, and other jurisdictions may have additional requirements.

Looking for a quick flagger apparel reference guide? Download ours here!

The ANSI class system

The MUTCD references the American National Standards Institute (ANSI) provides guidelines for high visibility safety apparel. The ANSI Class system provides an easy way to see if your clothing meets the MUTCD requirements for visibility. Simply check the tag on your apparel: if it meets the ANSI standard, it will have a number or letter such as “ANSI Class 2” or “ANSI Class E.”

While you’re looking at the tag, be sure to also check the expiration date. Some of your gear, like hard hats, may have expiration dates. It’s important to replace that clothing and equipment regularly, because it can become less effective and therefore less safe over time. Even if your clothing is not expired, you should still watch for fading or discoloration. Sunlight and the chemicals in laundry detergent both cause colors to fade.

MUTCD daytime clothing requirements for flaggers

Clothing requirements differ depending on the time of day when you’ll be working.

When you are working during daylight hours, your outermost layer must include, at a minimum:

  • A Class 2 upper garment (such as a vest) in fluorescent yellow-green, fluorescent orange-red, or fluorescent red
  • A high-visibility hard hat in white, yellow, yellow-green, orange, or red

It is recommended that you add at least 12 square inches of retroreflective banding to your hard hat.

Daytime MUTCD clothing requirements for flaggers

Most states define nighttime, also called “hours of darkness,” as ½ hour before sunset to ½ hour after sunrise, or during other low-visibility conditions such as snow, fog, or heavy rain.

These are times when you aren’t as visible to motorists and your fellow workers as you are during daylight hours. Wearing additional retroreflective garments help drivers recognize you as a person, and not a stationary object on the road.

During hours of darkness, your outermost layer must include, at a miminum:

  • An ANSI Class 3 upper garment (which has sleeves) in fluorescent yellow-green, fluorescent orange-red, or fluorescent red in color

OR

  • An ANSI Class 2 upper garment (such as a vest), PLUS an Class E lower garment, such as coveralls or pants

Note that some states, local jurisdictions, or companies may have additional requirements — always check with your supervisor for details on what you should wear. Washington State has additional requirements that go beyond those in the MUTCD.

Rain or shine, make sure you’re visible

If you work in wet or snowy conditions that necessitate rain- or cold-weather gear, that gear should meet these same hi-vis requirements. It is also recommended that you have clothing in more than one approved color so you can be seen in different environments. For instance, in the springtime, fluorescent orange may stand out more against a green background than fluorescent yellow-green.

Additional apparel recommendations

In addition to your hi-vis gear, you should always wear sturdy shoes and clothing that will help protect you from sun, wind, rain, flying rock, hot surfaces, and other elements you may be exposed to while working outside. Get sturdy work boots with good traction. Steel-toed boots are often required at work sites. Check with your employer for details.

Your shirt should have sleeves. Short sleeves are acceptable, but styles such as tank tops, muscle shirts, or shirts with cut-off sleeves provide too little protection.

No matter what the weather is like, you should wear long pants when in a work zone. Long pants protect your legs from flying debris, scrapes, sunburn, and other hazards.

Finally, flaggers need to be able to stay alert and have a wide range of vision and hearing while in the work zone. Avoid wearing anything that restricts your vision, such as a hood on a sweatshirt. Personal cell phones and other electronic devices that distract your attention should not be used on the job.

No matter what conditions you’re working in, having the right clothing is your first line of defense against hazards in the work zone.

Flagger clothing requirements for Washington State

The Washington Department of Transportation (WSDOT), the Manual on Uniform Traffic Control Devices (MUTCD), and the Washington State Department of Labor & Industries (L&I) all require that workers who are on foot in a work zone and may be exposed to vehicles or equipment wear high-visibility apparel.

The Washington Department of Transportation (WSDOT), the Manual on Uniform Traffic Control Devices (MUTCD), and the Washington State Department of Labor & Industries (L&I) all require that workers who are on foot in a work zone and may be exposed to vehicles or equipment wear high-visibility apparel.

Washington has a few requirements that go beyond what is stated in the MUTCD.

Here are the specific requirements for flagger apparel in Washington.

During daylight hours (with clear visibility):

  • An ANSI/ISEA 107 Class 2 or 3 vest or jacket. Approved colors in Washington are fluorescent yellow-green, fluorescent orange-red, and fluorescent red.
  • A high-visibility hard hat that is white, yellow, yellow-green, orange, or red.

During hours of darkness (or low-visibility):

  • An ANSI/ISEA 107 Class 2 or 3 vest or jacket in approved color (see above).
  • ANSI/ISEA 107 Class E lower garment.
  • A high-visibility hard hat in an approved color (see above) with 12 square inches of retroreflective material placed to provide 360 degrees of visibility.

Hours of darkness are defined as ½ hour before sunset to ½ hour after sunrise, or during other low-visibility conditions such as snow, fog, heavy rain, etc. (See WAC 296-155-305(5)(b).)

Glow On: High-Visibility Work Zone Safety Apparel

You may have seen road and construction workers dressed in fluorescent (often referred to as “high-visibility” or “hi-vis”) safety gear such as hard hats and vests. You probably know that these bright colors help flaggers and other road workers stand out in situations where their safety is at risk. But do you know why hi-vis colors seem to glow the way they do?

Know when to glow!

You may have seen road and construction workers dressed in hard hats, vests, or other apparel in fluorescent colors, with strips of shiny reflective banding. This apparel is often referred to as “high-visibility” or “hi-vis.” You probably know that these bright colors help flaggers and other road workers stand out in situations where their safety is at risk. But do you know why hi-vis clothing seems to glow?

I spy with my little eye…

Our eyes respond best to bright colors, but fluorescent colors are particularly visible, because they contain special pigments that absorb and reflect invisible ultraviolet (UV) light. This makes them appear unusually bright, as though they were “glowing,” when an ultraviolet light source (like sunlight) is present.

Fluorescent pigments were first developed in the 1930s by a pair of California brothers, Bob and Joe Switzer, who went on to found DayGlo Color Corporation. Bob, a pre-med student at the University of California and Joe, an aspiring entertainer, were experimenting with effects for a magic act when they accidentally discovered certain chemical substances “glow” when viewed under a black light. Further experimentation led to the development of pigments that appeared to glow during daylight. Although the colors were originally used in marketing, their potential for use in safety applications was quickly recognized.

Reflecting on safety

Fluorescent safety gear literally makes workers more visible, especially in low-light hours such as dawn or dusk. These colors won’t appear any brighter in situations where UV light isn’t present, though, which is why gear worn at night must also include shiny strips made from what is called “retroreflective” material.

When light shines on most objects, it bounces and disperses in various directions. The amount of light reflected back to our eyes is what we see. Retroreflective banding contains tiny crystalline beads that reflect light directly back toward its source – so when a light is shined on a vi-vis vest that contains this material, it appears very bright, almost glowing.

ANSI standards

The American National Standards Institute (ANSI) created the ANSI class system to provide guidelines for high visibility safety apparel worn on the job. These garments must contain a minimum amount of fluorescent material. Fluorescent yellow-green, fluorescent orange-red, and fluorescent red are all ANSI-approved colors. Depending on what job you do, you may be required to wear a certain class of ANSI-approved clothing.

You may notice that fluorescent pink is not on this list—ANSI has determined that fluorescent pink, though bright, doesn’t provide enough of a contrast to be considered a hi-vis color.

Hi-vis is for everyone

Even if you’re not working on the roadway, it’s a really good idea to wear hi-vis apparel if you’re out walking or biking, especially in low light conditions. Each year, cyclists and pedestrians are killed by motor vehicles. In addition to biking and walking defensively, increasing your visibility means you’re less likely to be overlooked by a distracted driver.

So get that hi-vis gear… and GLOW ON!

National Work Zone Awareness Week - April 11-15, 2022

National Work Zone Awareness Week takes place each year during the beginning of “construction season” to remind road users to be mindful and use their best judgment when encountering work zones. The theme for this year’s event, hosted by the Michigan Department of Transportation, is “Drive Safe. Work Safe. Save Lives.”

April 11-15, 2022, is National Work Zone Awareness Week.

Did you know that more drivers and passengers are affected by work zone injuries and fatalities than workers?National Work Zone Awareness Week takes place each year during the beginning of “construction season” to remind road users to be mindful and use their best judgment when encountering work zones. The theme for this year’s event, hosted by the Michigan Department of Transportation, is “Drive Safe. Work Safe. Save Lives.”

Improved roads and new construction are often welcome additions to a community, but it’s not always possible to completely close a street or highway to vehicles or pedestrians when construction or repair work is being performed. When this is the case, roads you’re used to traveling on may temporarily become work zones.Unfortunately, work zones are among the most dangerous places to drive due to altered traffic patterns, poor visibility, and other hazards and distractions.

Roadside flaggers do their best to direct motorists and other road users around the work zone while keeping everybody safe. But even the best preparation doesn’t always prevent collisions or other work zone incidents. Reduced speeds and long wait times, altered traffic patterns, and confusing traffic flow mean other drivers are likely to be distracted, frustrated, or aggressive. In addition, visibility may be impaired due to construction equipment or features of the road such as hills or curves.In short, work zones can be confusing—and dangerous— places for the average motorist. And drivers and passengers are actually more likely to be killed or injured in a work zone than workers are.

According to the Federal Highway Administration, between 2018 and 2019, fatal crashes in work zones increased by 11 percent despite a 2 percent decrease in crashes outside of work zones. The majority of these work zone fatalities were due to rear-end collisions.Nationally, work zone crashes occur at an average of one per every 5.8 minutes. In Washington State alone, 1,128 work zone crashes were reported in 2020. The top three causes? Following too closely, inattentive and/or distracted driving, and excessive speed.In fact, despite an overall decrease in traffic due to the Covid-19 pandemic, a recent Pew report found work zone injuries and fatalities actually rose in many areas in 2020, often due to motorists traveling over the speed limit. Motorists should keep these points in mind when driving through a work zone:

  • Flaggers are extremely vulnerable to traffic. Look for them when approaching a work zone.
  • Flaggers are there to protect you. Many states have laws that require you to obey them. The presence of a flagger implies it is a dangerous situation for you as a driver. Always follow their directions.
  • Work vehicles can suddenly enter or exit the lane of traffic.
  • Workers may step into the lane of traffic.
  • Heavy equipment may encroach into the lane of traffic.
  • Lanes may be narrow.
  • Speeds can suddenly be reduced, or there may be unexpected wait times.
  • The road surface can be rough with bumps or abrupt drops.
  • Other drivers may be confused as to traffic flow, or be distracted, frustrated, or aggressive.
  • Drivers and passengers are the most likely to be killed or injured in a work zone—not the workers.

You may be frustrated by the slow pace of traffic in a work zone, but this is not the time to make risky choices. Remember: Drive Safe. Work Safe. Save Lives. The life you save may be your own.

Heatstroke Prevention, Symptoms and Treatment for Flaggers

Heat-related illnesses can occur at any time, but workers are especially at risk during the warmer summer months. Whether you work outside or indoors, it’s important to learn to recognize signs and symptoms of heat stroke, heat exhaustion, and other heat-related illnesses—especially when temperatures rise.

Heat-related illnesses can occur at any time,

but workers are especially at risk during the warmer summer months. Whether you work outside or indoors, it’s important to learn to recognize signs and symptoms of heatstroke, heat exhaustion, and other heat-related illnesses—especially when temperatures rise.

Risk factors for heat illnesses include high temperature and/or humidity, direct sun exposure, heavy physical labor, low liquid intake, and wearing on-breathable clothing. Lack of exposure to hot workplaces also increases the risk of heat-related illness.Basic knowledge of these illnesses and their symptoms can help with their prevention and identification.

Keep Cool and Call 911

In severe cases, heat-related illnesses can lead to death. If the victim is unresponsive, or you aren’t sure what to do, the most important thing you can do is keep them cool and call 911.

Heat-Related Illness Symptoms Treatment

Heat stroke, the most severe type of heat illness, is severe overheating of the body’s core. It can develop from heat exhaustion, extreme high temperatures, the body’s inability to sweat, or clothing that does not “breathe.”

  • high body temperature (103 degrees or higher)
  • headache, nausea
  • altered mental status
  • loss of consciousness

The heat stroke victim will die if not cooled immediately. Pour water over the victim’s head, neck, and torso. Once the victim’s mental status has improved, cool slowly.

The heat stroke victim should always be seen at the emergency room.

Heat exhaustion is dehydration due to overheating. The problem is not overheating, but dehydration. It can occur at mild temperatures if the victim is overdressed and sweats excessively.

  • heavy sweating
  • clammy skin
  • nausea
  • weakness

In its early stages, heat exhaustion is treated by having the victim rest, retreat from the heat, and drink water. Electrolyte replacement drinks are beneficial if available, but do not use salt tablets. If the person is unconscious or unable to drink water, call 9-1-1.

Heat cramps may occur due to dehydration.

  • painful muscle spasms in the arms, legs, core, and back.

Massage and electrolyte replacement drinks are commonly used to treat heat cramps. Avoid physical exertion in the hours after experiencing heat cramps, even if you feel better. Seek medical attention if heat cramps continue more than one hour post-treatment.

Heat rash is caused by blocked sweat ducts that trap perspiration beneath the skin.

  • blisters or raised bumps on the skin’s surface 
  • An itchy, “prickly” feeling on the skin

The best way to prevent heat rash is to avoid overheating. Choose well-ventilated, lightweight clothing if you know you will be working in the heat. Tight-fitting clothing can exacerbate the condition.

Dehydration is caused when the body loses too much fluid. Severe dehydration can result in delirium or loss of consciousness, but even mild dehydration can result in impaired judgement. Your body may be affected by lack of fluids before you feel thirsty. Therefore, it’s important to hydrate throughout the day.

  • thirst
  • dry mouth
  • headache
  • dizziness
  • lethargy

Bring an equal amount of water and electrolyte replacement drinks with you to the worksite (electrolyte drinks can actually make you ill if you drink too much). Have enough water on hand to cover your entire shift. Caffeine has a dehydrating effect. Avoid drinking coffee, sodas, or energy drinks with caffeine unless you are balancing them with adequate amounts of water.

Sunburn: If you’re working outside, take care to avoid sunburns as well. Sunburns should be avoided not only to prevent discomfort, but also to prevent serious illnesses such skin cancer, including the least common but most serious type, malignant melanoma.

  • Changes in skin tone, such as pinkness or redness
  • Skin that feels warm or hot to the touch
  • Headache, fever, nausea and fatigue
  • Pain and tenderness

Sunscreen application is recommended on cloudy days as well as sunny days. Clouds do not stop the sun’s rays. A wide-brimmed hat and lightweight, breathable clothing with UV protection is a good choice if you know you will be working in direct sunlight for an extended period of time. For maximum protection and effectiveness, apply the sunscreen to all exposed parts of your body 15 minutes before your skin is exposed to the sun. You may need to reapply at various times throughout the day.

Evergreen Safety Council

Find a class

We offer online, in-person, and private group training for each of our programs.

Evergreen Safety Council

Get support

Choose an option below to get help with a class or a certification.

Can't find what you need?

Contact us
Evergreen Safety Council

Resources

Learn more about Evergreen Safety Council

Since 1932, we’ve been empowering people to achieve their potential by training them to stay safe on the road and on the job.